
7 Things You Should Know About Watercolor Embroidery
Watercolor embroidery is a stunning combination of watercolor painting and hand embroidery. At a first glance it can look very difficult and intimidating. And to be fair, it is quite tricky to find good information about it. Thus to solve that problem, I have put together an informative guide with 7 things you should know about how to do add watercolor to fabric.
As soon as you know the basics you will quickly gain the confidence to apply watercolor paint to any embroideries in the future!
One of the reasons why I love to apply watercolor to the fabric, is because it greatly cuts the time investment. For example, if I want to fill out a surface with floss, I will have to use a filling stitch.
In other words, it involves placing stitches (a lot of them) close to each other. You may increase the number of strands and thereby make it go slightly quicker. However, if you want to maintain precision and finesse you will most likely want to avoid full stranded floss.
On the other hand, to use paint on the fabric, you are able to realise your vision quicker, which feels very creatively stimulating.
1. Which fabric to use for watercolor embroidery?
The first question that comes up whenever I share about my process on coloring my embroideries is: which fabric is best for using watercolor?
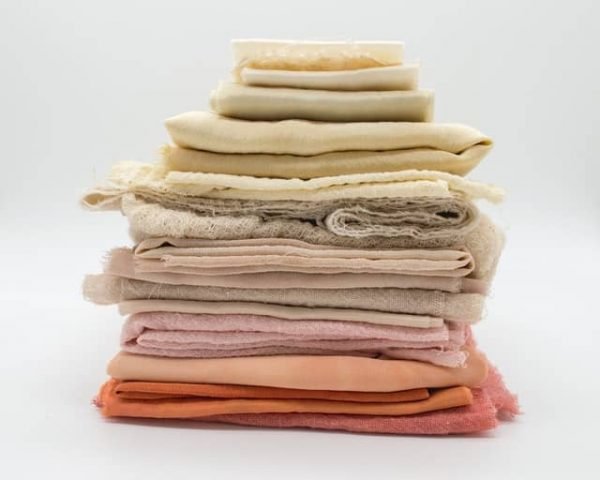
From personal experience, the type of fabric is less important than the color of the tissue. In other words, I find white fabrics (regardless of thickness) to be the easiest and most effective for watercolor paint. Especially if you use a cheaper version.
Nevertheless, I used a cotton canvas, which is my go-to for our architectural embroidery designs in general. In short it’s a relatively sturdy fabric, non-stretch and non-transparent and which seems to support the paints very well.
2. What paint to use for embroidery?
Water color is perfect to use when you want to make a mixed media art piece including embroidery. Don’t worry too much of whether what you have are fabric paints or not. The different brands that I have tried have mostly not been fabric paints and yet it worked perfectly well. To be honest, I even used the cheapest watercolor set I found in the supermarket… But my favourites are the Van Gogh or Winsor and Newton watercolor pocket sets.
However, if you are considering to make a water color embroidery on clothes or any interior design item that you will want to be able to wash safely, I’ve heard of many using a fabric medium to solidify any paint onto the fabric. I have never tried the method of the fabric medium myself, but it is definitely worth a try.

Click on the image to find the article
Example of watercolor set that works great for embroidery
3. What brushes to use to add watercolor on fabric?
I recommend to get a few different sizes of watercolor brushes. This will allow you to adapt the brush size to the size of the area that you want to color in.
Furthermore, a larger sized brush can hold more water, which will have an impact on the amount of color bleeding on the fabric. A smaller brush on the other hand equals less water absorption and thus also less likelihood of uncontrollable bleeding.

4. Can you add paint after the embroidery or do you have to paint the fabric before you embroider?
Of course! Who says you can’t? However, you just have to be aware of the different visual effects that adding watercolour before vs after will have on the final artwork.
If you add it before, you can be freer in your selection of floss (we use DMC) and stitches because the paint will only remain on the fabric. If you instead choose to paint afterwards, your floss will most likely absorb some of the paint as well.
The biggest factor of color absorption comes to the original color of the embroidery floss. After some trial and error I noticed that dark embroidery floss doesn’t seem to absorb any of the watercolour paint, and thus it is much more forgiving to work with.
White embroidery floss on the other hand, is completely the opposite (quite natural). When you paint on white floss, it will turn into the same color as the fabric underneath.
Having this in mind, you can use this technique to your advantage. For example, adding some single stranded back stitch or straight stitches to an area and then paint it, will create texture in an otherwise smooth surface. Added texture brings more life to a monotone area and can be incredibly effectual!
The only time (after trial and error) that the white floss didn’t absorb the color was if you paint just next to the floss rather than right on top of it.
5. How much paint vs water to use for watercolor embroidery?
The amount of water and paint respectively will have various impacts on how much the colour will bleed/spread out. Here is a quick overview of two general (easy) rules to remember:
A lot of paint + few water = strong/intense color
Few paint + a lot of water = soft shade of color
6. How to control the bleeding of watercolor on fabric for embroidery?
It is difficult (if not almost impossible) to control watercolor bleeding to 100%. In fact, the bleeding is part of the charm and authenticity that the medium offers.
Nevertheless, there are some techniques that you can use to have more or less control depending on what type of design that you create.
For an abstract embroidery art piece it is probably better to just let the paint bleed organically “out of control”. Whereas if you have a pattern such as for architectural embroidery, you will most likely want to be able to control it more.

There are 3 main keys that have a direct impact on how much you watercolour will bleed on the fabric:
How much water you have on your brush
If the fabric is dry before adding the paint
If the fabric is wet/humid before adding the paint
In more detail… For a dry fabric the paint will only bleed in relation to the amount of water that you have on your brush. Whereas if the fabric is wet, the paint is free to travel for as far as the humidity allows it to.
A general rule of thumb is that the paint will not stretch further than the fabric is wet. Now of course that is also “relative” to the extent that the water may continue to spread slowly throughout the process.
7. How to transfer an embroidery pattern for watercolor embroidery?
My favourite method is to use permanent ink and draw directly onto the fabric. The permanent ink is guaranteed to stay solid on the fabric even when you apply water, which is the most important if you want your transfer to remain neat.
I tried to use carbon paper transfer, which is our most commonly used method for our architectural embroidery pattern transfers. However, it didn’t turn out as well as with the permanent ink, because the carbon particles made the fabric seem a little “dusty” or “greyish”.
My go to for the ink is a muji pen size 0.5. It’s the pen that I prefer to use also when drawing our embroidery patterns on paper too (alternating with micron pens).
Thank you for reading along!
And don’t miss to check out our other resources and courses to dive deeper into watercolor embroidery art:

Introduction to Watercolor Embroidery
I truly hope you’ve learn a thing or two and that you’re excited to give watercolor embroidery a try!
*this post contains affiliate links