
Materials
What materials and tools to use for hand embroidery?

To better answer your questions about which materials we use, we have put together a complete article below that includes explanations of why we choose certain embroidery materials and tools over others.
We hope that this will enable you to evaluate which materials that will suit you the best.
At the least, it will give you an idea of which materials and tools that are worth to try out!
Quick overview of the Materials that we will discuss in this article:
Fabric e.g. cotton, linen, canvas (US)
Needle e.g. 1-5 from Bohin or DMC (for US)
Embroidery floss e.g. DMC (US) or Anchor Threads
Embroidery hoop preferably a wooden hoop (US)
Embroidery stand (US)
Pattern transfer (only needed if you want to embroider a pattern as opposed to do your own free hand embroidery) e.g. carbon paper (US) , water soluble pen (US), iron-on pen (US), solvy-paper (US), magic paper (US)
Ruler (optional)
Pointy ink pen (only if you use carbon paper to transfer) (our favorite here US only)
For Europeans, you can find all the materials you need on here .
You can find Charles and Elin kits for our different courses:
Architectural Hand Embroidery Kit
Architectural Thread Painting Kit
Which fabric to use for hand embroidery?
You can embroider on essentially any kind of fabric.
Cotton and linen are two of the most common types.
What decides which type of fabric to choose is the type of design and project that you want to embroider.
The first question to consider is what properties you want the fabric to have.
Should it be stretch or non-stretch? See-through or not? And why?
The key here is to answer the question: Why.
Because it isn’t until you know the answer to why you use a certain fabric or material over another that you will be able to make confident decisions of what to use.
The amount of stretch and thickness of your fabric matters
Whether a fabric is stretchy or not will have an impact on how easy it will be to embroider on it.
It’s the most difficult to embroider on thin stretchy fabrics such as a thin t-shirt.
The reason is that a stretchy fabric is easier to pull too hard, which will create bubbles in your final embroidery.
The same applies to thinner fabrics such as soft linen or viscose (regardless of their stretchiness).
However, the difference between a stretchy thin fabric and a non-stretch thin fabric is that you can still put a supportive hoop on a thin non-stretch fabric.
Whereas we recommend to avoid using a hoop at all for stretchy fabrics.
Why you shouldn’t use a hoop for stretchy fabrics
When you use an embroidery hoop to support your stitching, you will always pull the fabric out when you put the hoop on.
In other words, to create tension in the fabric you will pull it to be tightened in the hoop.
If you embroider on let’s say a stretchy a t-shirt, the t-shirt will “pull back” when you take off the hoop.
As a result, the fabric around the embroidery design will get all bubbly and the design not have enough space to look neat.
What to do instead
Instead, when you embroider on a stretchy fabric you should try to be as loose on your hand as possible.
Hold the fabric with your non-dominant hand (i.e. the one where you don’t hold your needle).
Pull the threads loosely as you stitch.
This is so that the embroider will be able to “stretch with the t-shirt” as you wear it while simultaneously avoid surrounding fabric bubbles.
Non-stretch Cotton Canvas is the best for Architectural hand embroidery designs
For our Architectural hand embroidery patterns (link to the pattern category) we love to use a rigid cotton canvas fabric.
The canvas can be referred to with different names in different countries.
In for example USA we have many students who have successfully used the Duck canvas 7oz, which has the same properties as the cotton canvas.
What is a cotton canvas?
A cotton canvas is a fabric that is non-stretch and generally non-transparent (due to its thickness).
The non-stretchiness allows you to pull the fabric nice and tight in the embroidery hoop.
With a tightened fabric (imagine a little fabric drum), you can easier stitch straight and neat lines.
Furthermore, you are less limited with regards to how hard you pull your stitches.
The tighter your fabric is, the more “forgiving” in case you happen to pull a bit harder.
As a result, you can feel much more relaxed when you stitch on a tight fabric as you don’t have to worry about creating unwanted “pull marks” on your fabric.
This is especially important when you want to embroider architectural designs with a lot of small details using only a single strand.
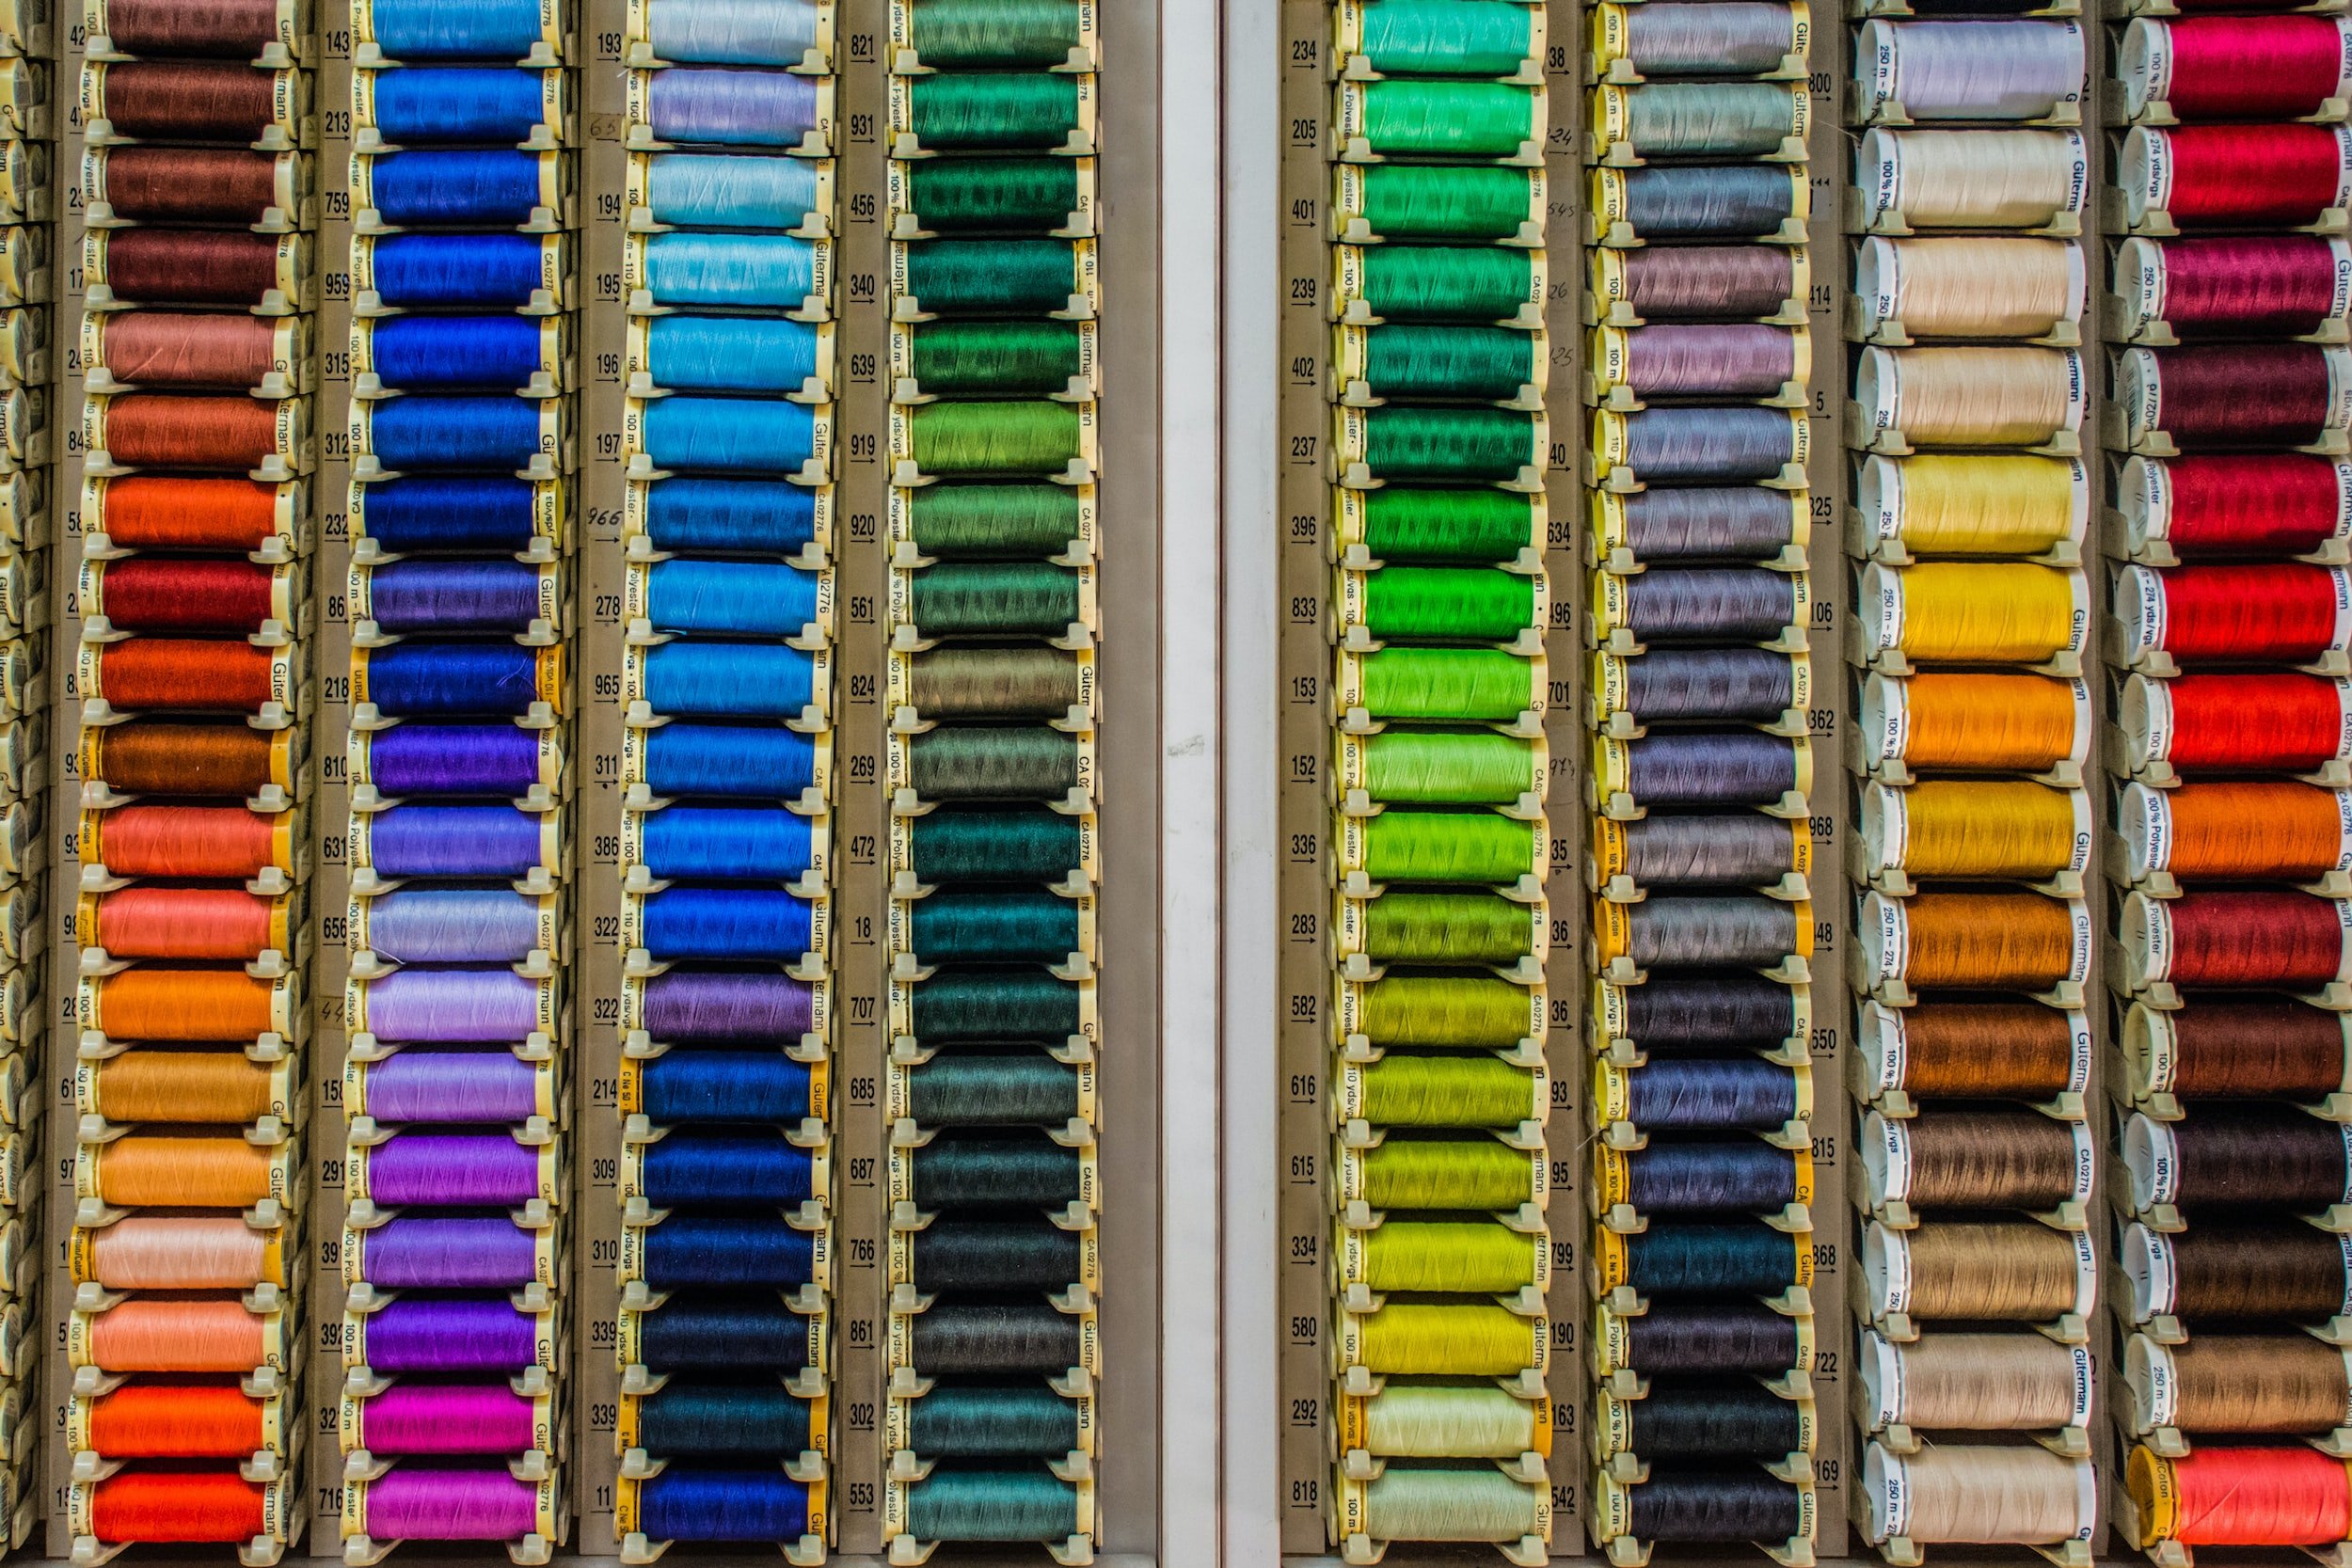
Which type of embroidery floss to use?
We use mostly mouliné embroidery floss from DMC.
It is a cotton thread that consists of 6 strands.
They have great endurance, which allows for easy separation of strands without the risk of them breaking while stitching.
We use almost always only one or two strands for our different architectural embroidery patterns.
The number of strands doesn’t affect the level of difficulty of an embroidery design.
Nevertheless, it does have an impact on the visual effect that you want to create.
With thinner lines, which is achieved with fewer strands, the result will look more fine and precise.
In addition you are able to add more small details to enhance the impression of the image.
Can you wash embroidery floss?
Another thing to consider with regards to your choice of embroidery floss is their resistance when washing them.
If you embroider on clothes you want to make sure that you use threads that will not colour off or shrink.
In our experience, we have never had any problem with colouring off or shrinkage when using the DMC or Anchor Threads floss.
We wash all our embroidered clothing in a regular 40°Celsius colour wash in the machine.
The only thing to keep in mind here is to not tumble dry your embroidered clothing.
Learn more about embroidery on clothes in our online Masterclass
What about golden embroidery threads?
Regarding golden threads, we prefer the ones from Au Ver á Soi over those from DMC and Anchor.
The quality is simply superior when it comes to endurance.
One of the biggest problems with golden threads is that they easily break when you stitch.
Hence the need for a strong and durable golden thread.
Especially if you want to embellish clothing with some golden details.
What hoop to use for embroidery?
We use wooden embroidery hoops because we think they give the best stability.
Furthermore we love the authenticity and feeling of using wood.
There are wooden embroidery hoops in every size.
We always recommend to rather use a size that is too big than too small.
Preferably you use a hoop that is larger than the embroidery design that you will stitch.
By using a larger hoop you are able to have a better overview of your full work throughout the process.
However, if your embroidery piece is simply too large for any hoop size, you are able to move the hoop around the fabric.
Just be aware of using a clean hoop at all times.
Because otherwise you risk to create hoop marks across your work in progress, which would be a shame!
Should you use an embroidery stand for embroidery?
Embroidery stands can be of great support if you aim to embroider during long hours.
And embroidery stand allows you to work with both your hands in the same time, which can facilitate the process.
Furthermore, to have both your hands free will also make you able to stitch a bit quicker.
Last but not least, and embroidery stand releases pressure on your wrist as you don’t have to hold the hoop in one hand while stitching with the other.
There are several different type of stands. You can have an embroidery stand for the table or that stands on the floor.
It depends on where and how you usually like to sit. The most important is to consider which one that would allow you to be in an as upright and ergonomic position as possible, to not add strain on your neck or shoulders (which is a common issue when you embroidery a lot).
We love to use a stable stand for the table and use an adjustable chair so that we get it at the right height. If we move the stand to the sofa it also works good to place it on your knees.
Be aware of the transfer method you choose if you move your hoop around
If you choose to move your hoop around, be aware of the transfer technique that you use to transfer your embroidery pattern.
Because some transfers may risk to smudge off in case it is exposed to friction.
Even though we love to use the carbon paper method, it is not advised if you have a small hoop on a large design.
This is because the carbon may leave traces on your hoop, which in turn can leave carbon smudges across your embroidery work.
On the other hand, if you do happen to find carbon smudges on your fabric you can always wash the piece afterwards.
Don’t let your embroidery rest in the hoop
Just keep in mind to take your hoop off whenever you put your embroidery to rest.
The reason is that the hoop may risk to leave imprints on your fabric if it’s left too long.
Thus the best is to get the habit of always taking off the hoop after you have completed your embroidery session for the day.
Which embroidery needles to use?
We love to use needles in size 1-5 from Bohin France or DMC.
The 1-5 sized needles are relatively thin and long needles.
With longer needles we feel that you get a better grip between your fingers.
As a result it is easier to achieve neat and straight lines when you do architectural embroidery designs.
What materials do you need to transfer an embroidery pattern?
We love to use the carbon paper technique, which is what I focus on here.
For that you need carbon paper, optionally a small ruler and a pointy ink pen.
A tip is to use a colored ink pen so that you can easier see the lines that you’ve traced and which ones that remain.
Regarding the carbon paper we love the one for textiles by Rougier et Plé.
For you who aren’t in France to easily access it, we have also found regular printer carbon paper from Pelican to work well.
You can find it on for example Amazon.
Fabric vs printer Carbon paper
The carbon paper for textiles is usually easier to transfer without any smudge.
However, this means that you often have to press a bit harder with your pen as you trace the lines.
If you use a printer carbon paper just be aware to not rest your hand on it as you transfer.
Because that is what can cause the carbon to smudge.
Nevertheless, if you are able to only put pressure with the pen you shouldn’t have any smudging problems!
You can watch a full process video of how we do it below:
In case you want to explore various materials for transferring a pattern you should have a look at this article.
It goes through carbon paper, Water soluble pen, iron-on pen, solvy paper and friction pen.