How to backstitch 3 ways
How to backstitch may be the first question that comes to mind for an embroidery beginner. Why?
Because the backstitch technique may be one of the most frequently used embroidery stitches. For example, we use it for EVERY SINGLE DESIGN. No joke. It’s literally the only technique that we really couldn’t be without.
This is why I want to dedicate a longer article to the backstitch technique. In case you’re more interested in a general overview of several stitches you should check out this guide instead:
Embroidery stitches guide (you only need these 7!)
So, why is the backstitch so amazing?
The backstitch allows you to embroider contours. But not just any straight lines. It will also enable you to make very smooth one line shapes.
The trick is simply to reduce the stitch length as much as you need depending on the size of the curve. A very tiny curve may require a lot of teeny tiny stitches, whereas a wider curve/less rounded shape may allow for smaller stitches but not need the miniature ones.
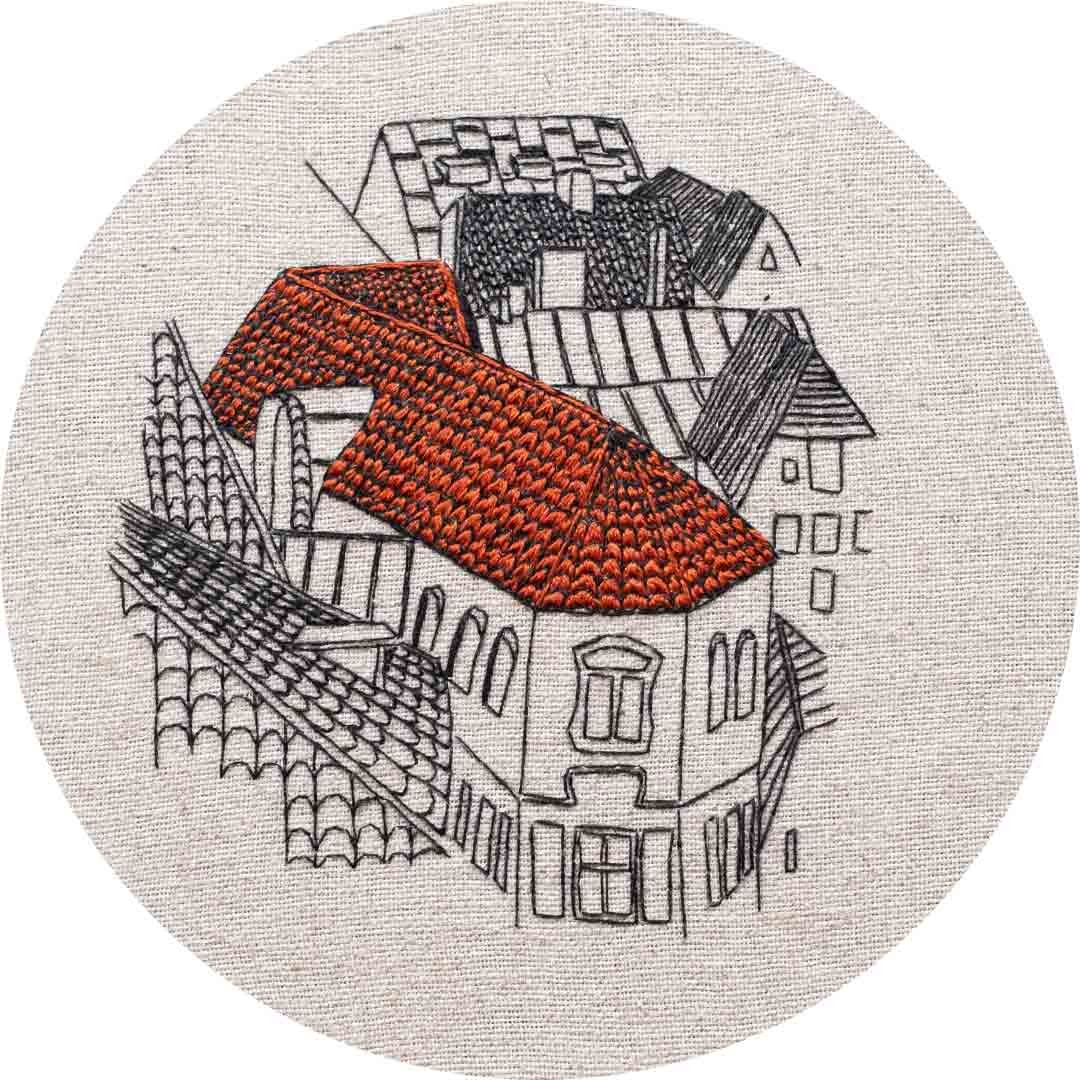
An example of a design where I used a lot of small stitch for rounded shapes is Tallinn, Rooftop in Estonia. How come there were lots of rounded shapes? The rounded shapes make up each tile, which is the main concentration of this design.
I even enhanced the tiles on the central building by filling out the tiles with burnt orange satin stitches. This is not only a good example of a design with small rounded shapes, but also where the contour make up the majority of the design.
3 Ways To Backstitch
When we started out to teach our modern architectural embroidery style to the world, we encountered may surprised faces.
And every time it involved the backstitch technique. There seemed to be several different ways of executing the same stitch, which we found super interesting!
Thus to help break down the process, I decided to make a video tutorial about it. You can watch it below!
For you who prefer to read instructions, continue reading below:
The video goes over the 3 basic ways of embroidering the backstitch technique. They will all have almost the same result on the front of your embroidery. Whereas the back is where you can spot the differences.
The first way is the single sided backstitch
I chose to demonstrate this way of stitching first as it’s the way that we do it.
How come?
There are several reasons why we prefer the single sided backstitch:
It saves you floss – take a look at the back of the embroidery and you will notice the difference!
It allows you to be more precise thanks to pulling through on each stitch AND for taking up the second point close to the first stitch.
Reduces the risk of a bubbly fabric
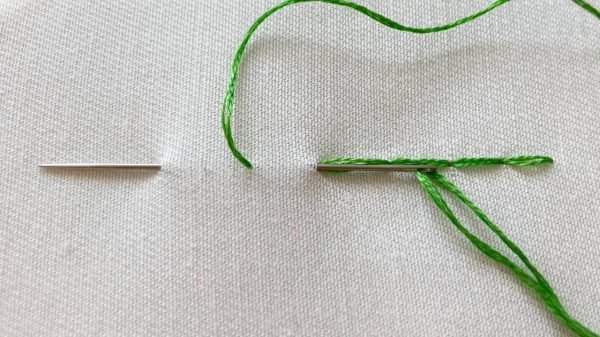
Here is a visual overview of how to do the single-sided backstitch:

1. Begin with a straight stitch in the direction that you want to make your line
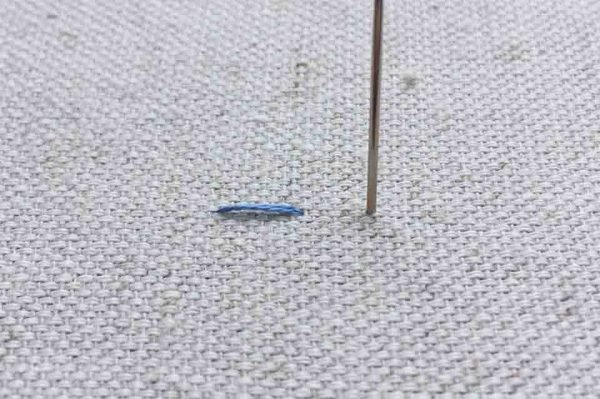
2. Take up the needle a stitch length away

3. Go back to the previous hole
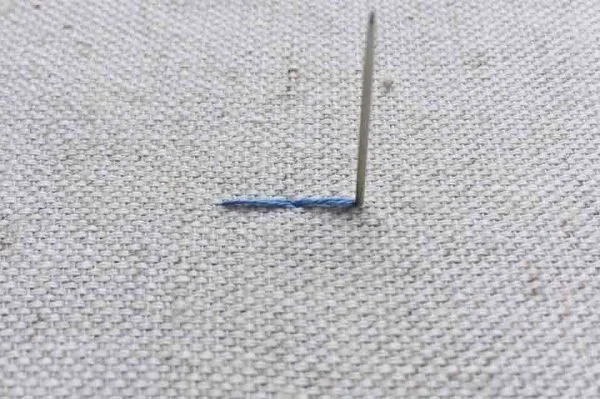
4. Now go back up through hole at the end of the line and start the sequence 1-4 again.
The two other versions are both double sided backstitch
Double sided backstitch means that you will have a covered line on the back of your fabric as well. The line will not look identical to that on the top, but still be covered.
As a result, the double sided backstitch will require some more floss. Furthermore, due to longer travelling lines on the back (twice the length to that of the single sided backstitch), you increase the risk of pulling the fabric, which can result in unwanted bubbles.
To better illustrate the differences on the backside between single and double sided backstitches, have a look at the picture:

1. Single sided backstitch 2. Double sided backstitch (pull through every stitch) 3. Double sided backstitch (make 2 stitches in one)
Now that you have a better visual understanding of the differences, let’s continue with the step by step process of the 2 double sided versions.
Double sided backstitch; Pull through every stitch

Start with a straight stitch in the direction you wish to stitch your line.
Notice that the first step of this double sided backstitch version is the same as for the single sided backstitch, namely to start with a straight stitch in the direction you wish to make your line.

2. Go back to the previous hole in and pull through
Step 2 is also the same as step 2 for the single sided backstitch technique. It’s not until step 3 that you will notice the difference:

3. Now take up the needle a stitch length away INSTEAD of in the front hole as you would in the single sided backstitch.

4. Go back to the previous hole to close the gap
From this point onwards you will always take up the needle a stitch length away from the line and thereby creating a “gap” from which you go back (as seen in image 4). The result will give you a double sided backstitch all along except for the very first straight stitch, under which you won’t have anything on the back.
Now let’s move on to the 3rd way of doing the backstitch:
Double sided backstitch speedy version
This third and last version of the backstitch technique, is also the one that differs the most from the previous two. Where the two version explained above pull through on each stitch, this version is all about efficiency.
Hence, instead of pulling through each stitch (both on the front and back of the fabric), you make the two stitches in the same time.
This movement is very similar to that of the running stitch. The difference in relation to the running stitch would be that you will close the gaps between the straight stitches to from one solid line, whereas the running stitch looks like straight stitches aligned in a row.

1. Make the first straight stitch in the direction you wish to make your line. SIMULTANEOUSLY make the stitch on the back to take up the needle a stitch length away (2 stitches in one go).

2. After you have pulled through your first 2 stitches as seen in image 1, you go back to close the gap. Simultaneously make the stitch on the backside by pushing the needle up a stitch length away from the starting point.
3. Repeat the process of always going back to close the gap and then take up the needle a stitch length away from the starting point of the previous stitch.
Now I hope that you have a better understanding for the 3 different ways that you can make the backstitch technique. Thanks to the images you are able to study the process at a slower pace. But in case you feel ready to have a look at the video as well, I will link to it here again.
What’s next? Practise your backstitches
As with everything, the more you practise your backstitches, the more you will feel at ease with them. There are several ways that you can practise.
Beginner of embroidery
For example, if you’re a complete beginner I’d recommend that you try out our beginner’s course, which comes with a stitch sampler as well. The beginner’s course will not only introduce you to the backstitch technique, but also the other 4 most commonly used techniques for Architectural embroidery: straight stitch, split stitch, satin stitch and the French knot (or knotted stitch).
A little warmer in your hands
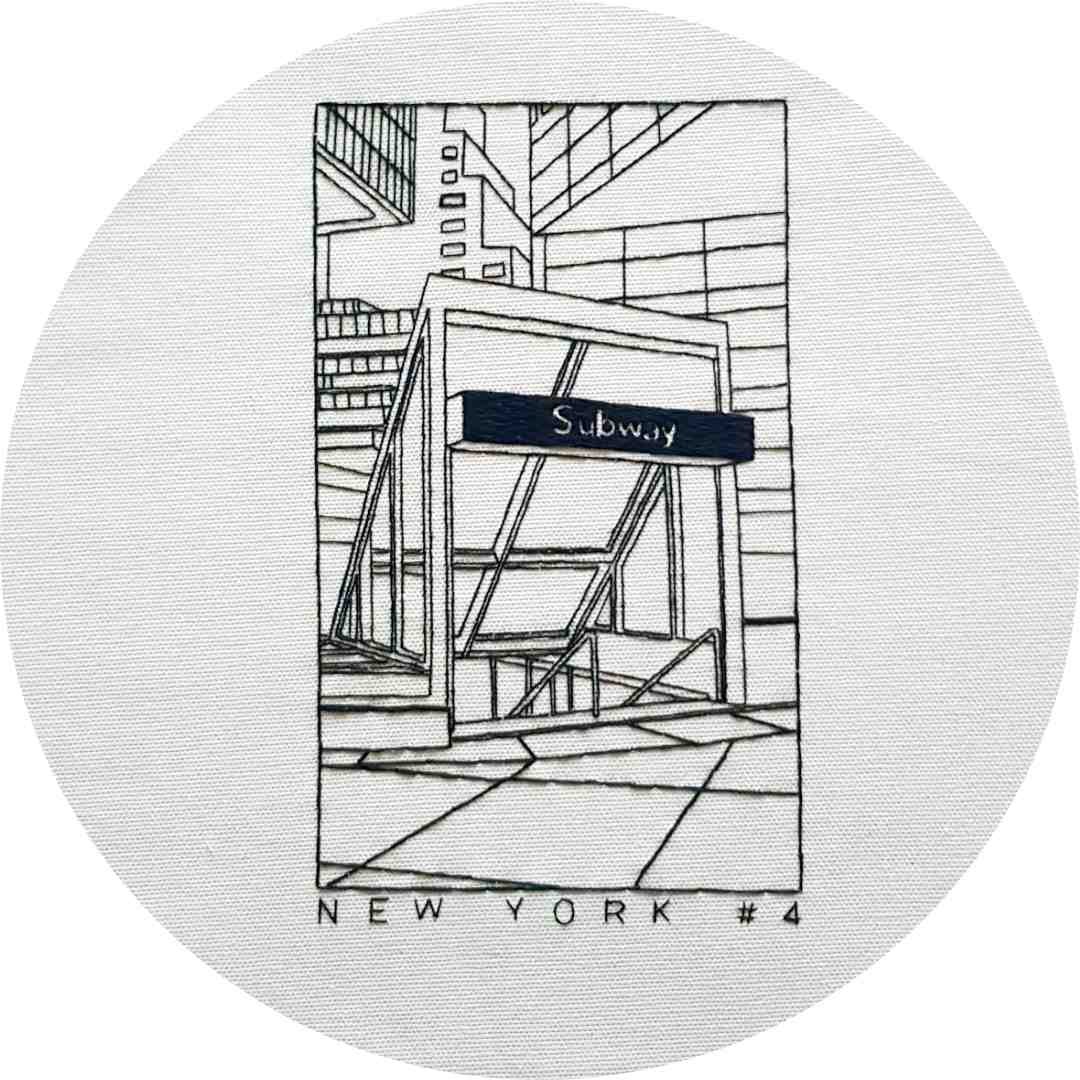
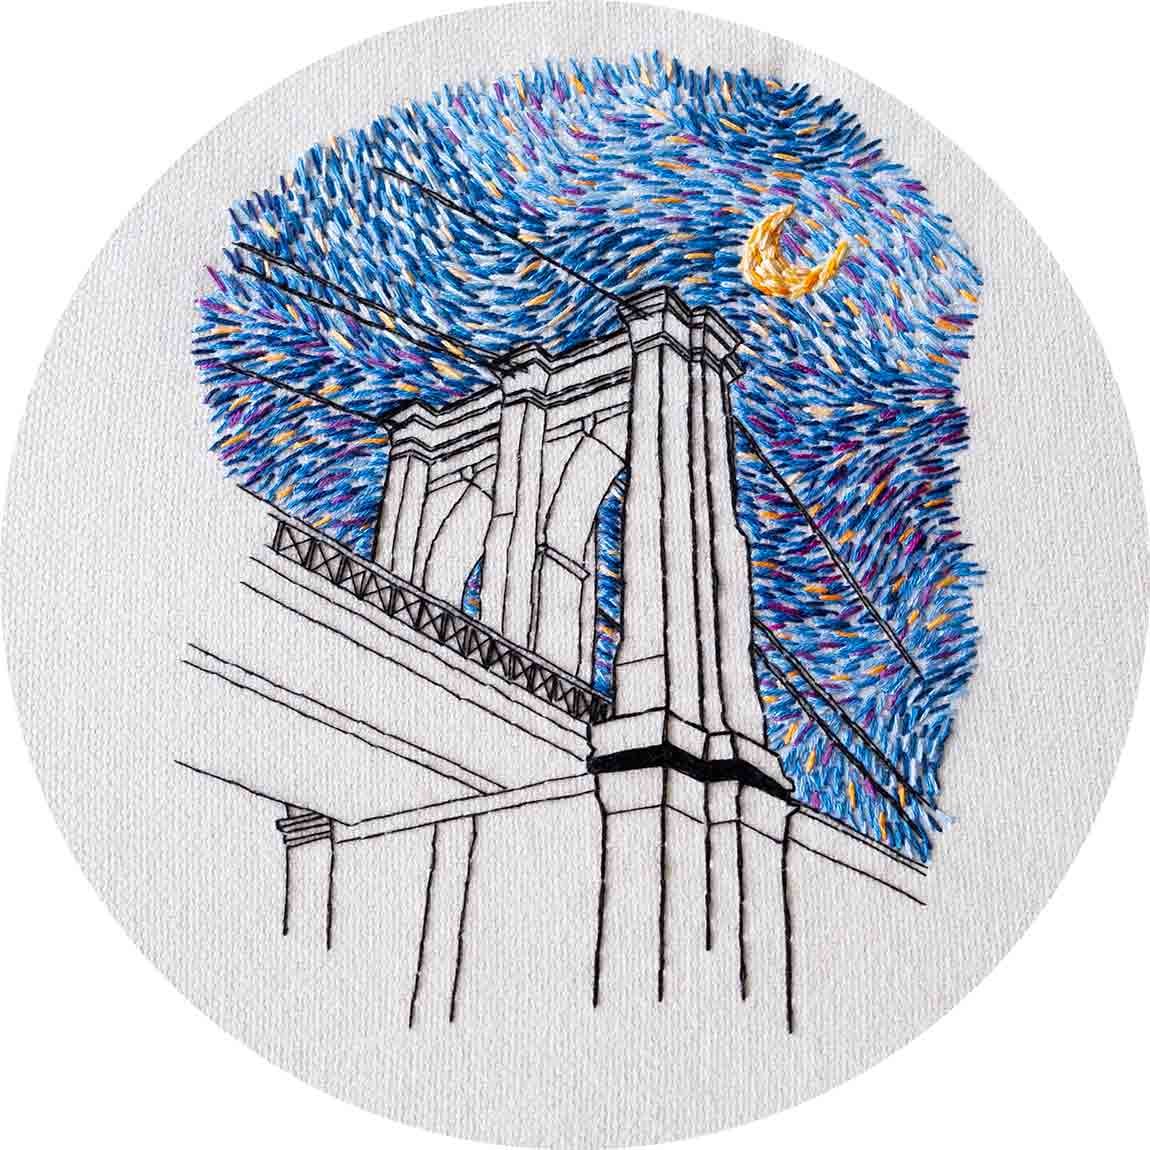
In case you have already tried out a project or two before, you may want to dive into some fun Architectural hand embroidery patterns. We’ve got designs inspired from all over the world! Below is just a small selection…
You’re also invited to have a look at the Charles and Elin Academy, where we offer a wide range of online courses and workshops. As a member in the Academy membership you will have unlimited access to everything we’ve ever filmed for the Academy + continuous updates on a weekly basis.
What are your thoughts on the backstitch technique?
Thank you so much for reading!
I’d love to hear your thoughts and experiences with the backstitch technique in the comments below. Which type of backstitch is your go to and why?
xx Elin