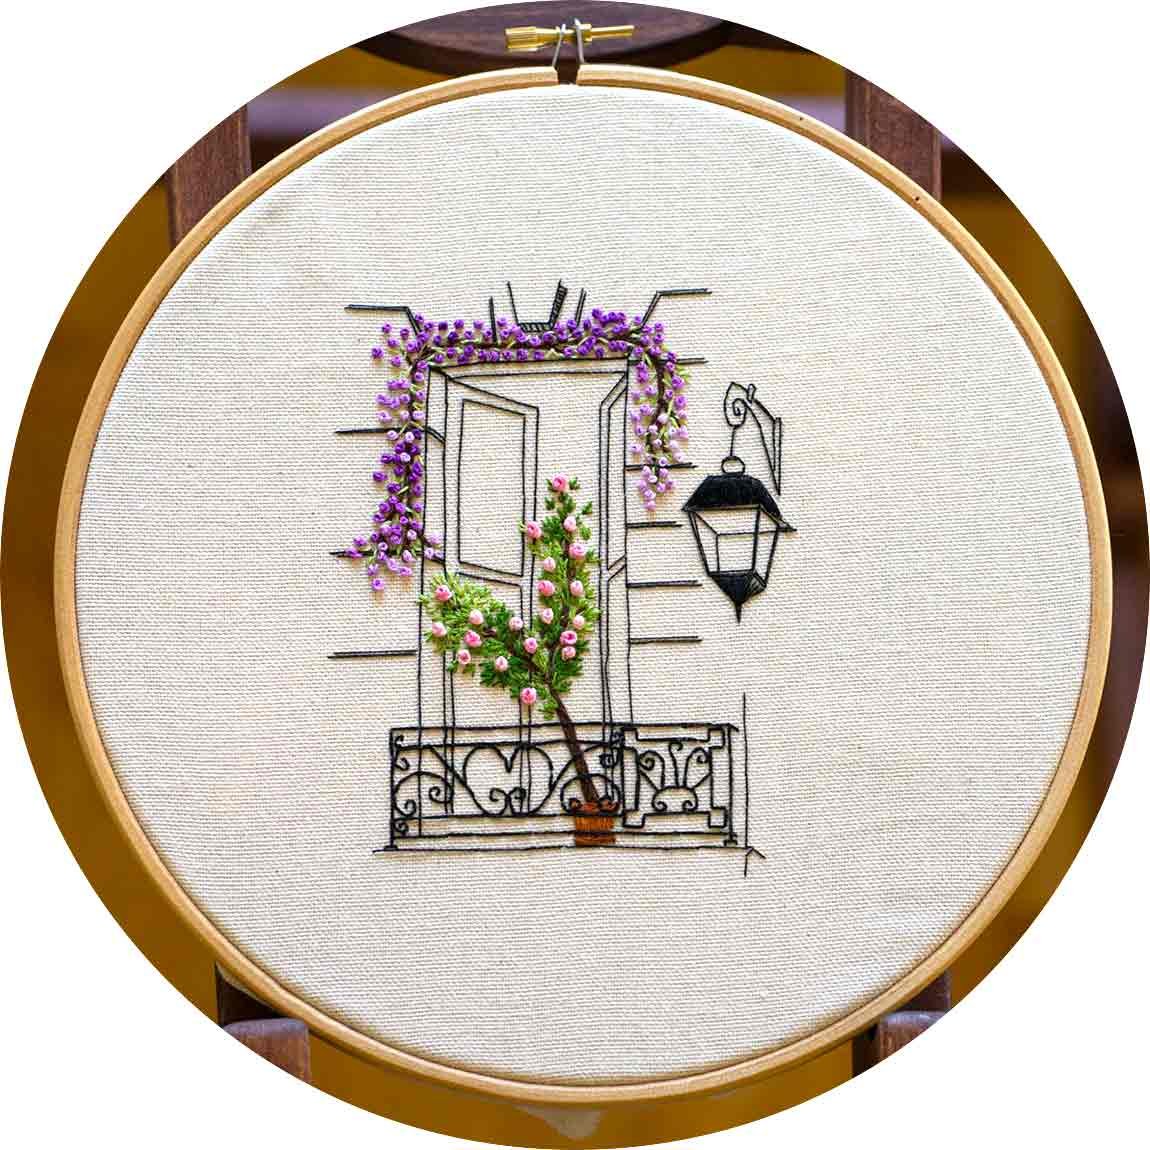
Parisian Window 🇫🇷
This hand embroidery pattern of Parisian Window fits perfectly into a hoop of 20cm (8") or larger. The pattern will be sent to your email as an instantly downloadable PDF immediately after purchase.
The pdf also includes
🎨 colour guide
🔖 stitch guide
📖 general technique guide so that you can embroider the design with confidence.
Story of the Parisian Window design
Are you a beginner of embroidery and on the look for a beautiful pattern to stitch? Then you are in the perfect place! Because this Parisian window pattern has been designed with you in mind. We encourage you to have a look at the full process video below to best see each step.
As a beginner of any art form it is easy to get overwhelmed with the final result. However, if you break down the steps and stitch along one step at the time, you will soon realize that you can do it too!
For this embroidery pattern we therefore recommend to start in the back. In other words, begin with the neat contours of the window frame and shutters. Thereafter you add the potted plant followed by the typical Parisian balcony. It is important to embroider the plant before the balcony to enhance the perception of depth.
Lastly, you will be able to relax while adding the floral on the wall. Thanks to the variated floss you will achieve a more vivid and advanced look without the need to change thread.
Embroidery stitches used in this pattern:
Back stitch
Split stitch
French knot
You can learn how to embroider the above techniques in this article or via our free video stitch library Going Knots .
Materials you need to complete this embroidery design:
🖼️ Cotton canvas (or any non-stretch and non-transparent cotton fabric such as Duck canvas 7oz)
🖼️ Embroidery hoop of 20cm (8")
🎨Embroidery needle (We love to use 1-5 Bohin France or DMC needles)
🧵 Embroidery floss (DMC colour codes are indicated on your pattern pdf)
✂️ Scissor
📝 Carbon paper for transfer (Alternatively solvy paper, iron-on pen or any other transfer method of your preference)
🖊️ Pointy ball point pen
📏 Optional: Small ruler
Here is an article with more information about the various materials that we use.
BONUSES
→ Included in your pattern pdf is a video tutorial on how to transfer our architectural hand embroidery designs with carbon paper.
→ Upon purchase you will also receive an invitation to our supportive Private Facebook community that is available only for stitchers of our designs and courses.
Learn more with online courses
Are you keen to dive deeper into the Architectural hand embroidery style?
Then you’d want to have a look at our in depth Architectural hand embroidery and thread painting courses on Charles and Elin Academy!
In addition to courses on Architectural designs we also offer other inspiring courses to support you on your exploration of modern hand embroidery.


